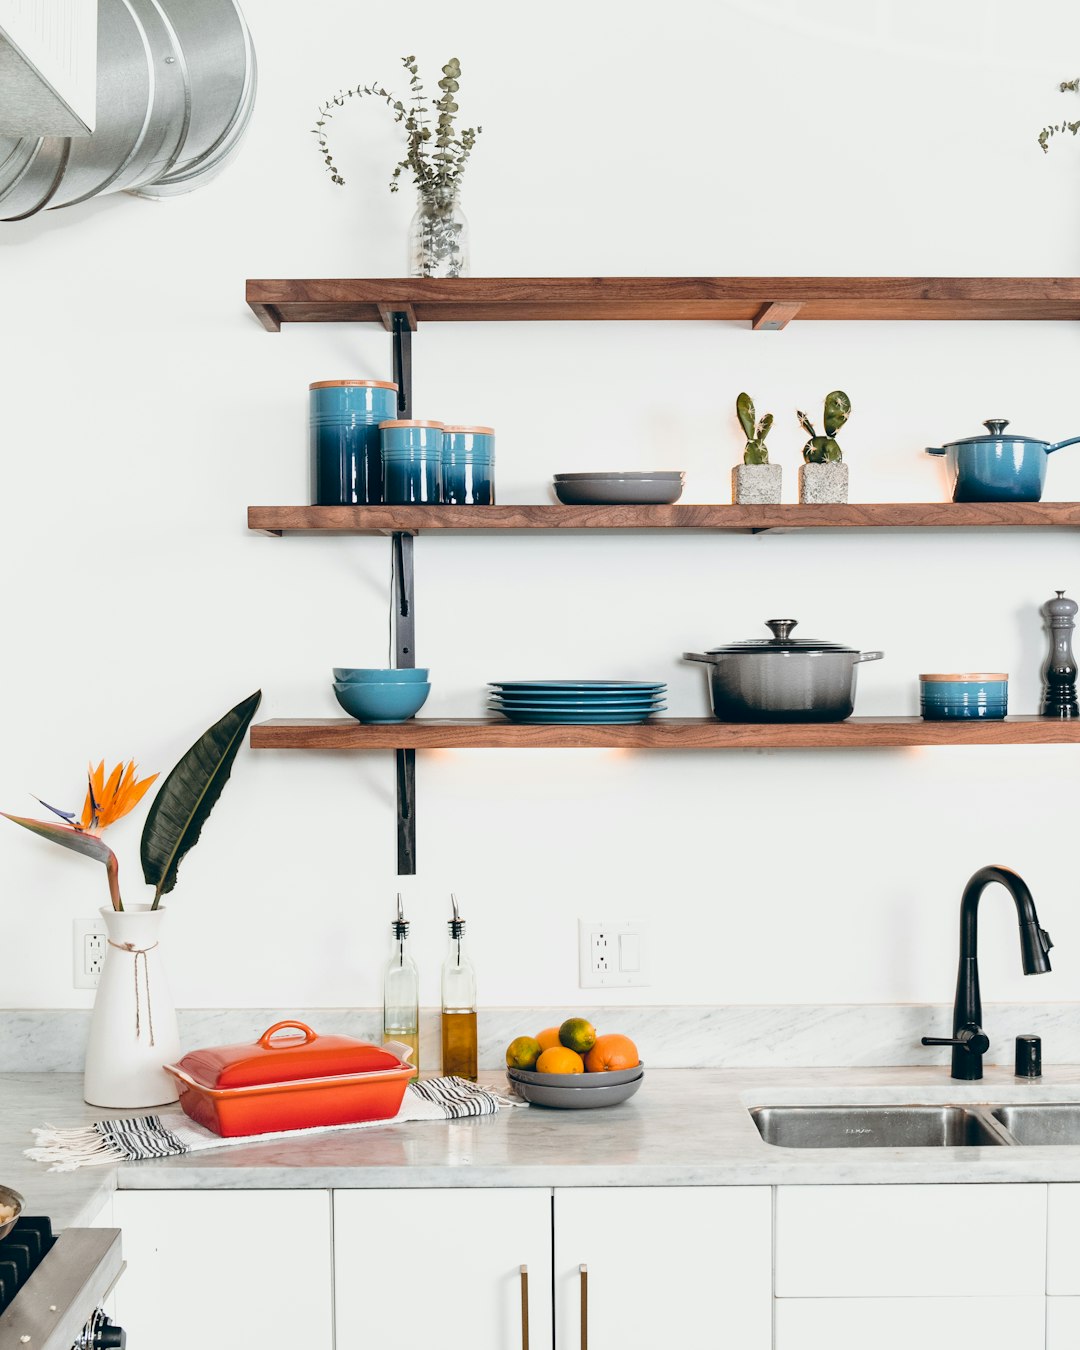
A backsplash is a key component in any kitchen, not only for its practical benefits in protecting the walls from splashes and spills, but also for its aesthetic value in enhancing the overall look of the space. Installing a backsplash may seem like a daunting task, but with the right tools and a little know-how, it can be a relatively simple DIY project that can completely transform the look of your kitchen. In this guide, we will walk you through the steps to install a backsplash in your kitchen.
Materials and Tools Needed:
Before you begin the installation process, gather all the necessary materials and tools to ensure a smooth and successful project. Here is a list of what you will need:
– Backsplash tiles of your choice
– Adhesive or thinset mortar
– Grout
– Tile spacers
– Tile cutter or wet saw
– Notched trowel
– Grout float
– Sponge
– Bucket for mixing mortar and grout
– Level
– Tape measure
– Pencil
– Painter’s tape
– Protective goggles and gloves
Step 1: Prepare the Surface
The first step in installing a backsplash is to prepare the surface. Start by removing any existing backsplash or wallpaper, and clean the walls thoroughly to ensure a smooth and clean surface for the tiles to adhere to. Use a degreaser or a mixture of water and vinegar to remove any grease or grime from the walls.
Step 2: Measure and Plan
Before you begin installing the tiles, measure the area where the backsplash will go and calculate how many tiles you will need. It is always a good idea to purchase a few extra tiles to account for any cutting errors or future replacements. Plan the layout of the tiles, taking into account any outlets or fixtures that may need to be cut around.
Step 3: Mix the Mortar or Adhesive
If you are using adhesive, follow the manufacturer’s instructions for mixing it to the right consistency. If you are using thinset mortar, mix it with water in a bucket according to the package instructions until it reaches a smooth and workable consistency.
Step 4: Apply the Adhesive or Mortar
Using a notched trowel, apply the adhesive or mortar to the wall in small, manageable sections. Start at the bottom of the wall and work your way up, ensuring that the adhesive is evenly spread and creating a uniform surface for the tiles to adhere to.
Step 5: Install the Tiles
Begin placing the tiles on the wall, starting with the first tile in the bottom corner. Press each tile firmly into the adhesive or mortar, using tile spacers to create even gaps between the tiles. Continue placing the tiles in a straight line, working your way across the wall and up towards the top.
Step 6: Cut Tiles as Needed
For tiles that need to be cut to fit around outlets or fixtures, measure and mark the tiles with a pencil. Use a tile cutter or wet saw to carefully cut the tiles to the correct size, ensuring a precise fit. Be sure to wear protective goggles and gloves when cutting tiles to prevent injury.
Step 7: Allow the Tiles to Set
Once all the tiles are in place, allow the adhesive or mortar to set according to the manufacturer’s instructions. This usually takes 24-48 hours, so be patient and avoid touching or moving the tiles during this time.
Step 8: Apply Grout
After the tiles have set, it is time to apply the grout. Mix the grout in a bucket according to the package instructions until it reaches a smooth and workable consistency. Using a grout float, apply the grout to the spaces between the tiles, pressing it firmly into the gaps. Wipe away any excess grout with a sponge, taking care not to remove too much grout from the spaces between the tiles.
Step 9: Clean the Tiles
After the grout has dried for about 10-15 minutes, use a damp sponge to clean any grout residue off the surface of the tiles. Rinse the sponge frequently and continue wiping the tiles until they are clean and free of grout haze.
Step 10: Seal the Grout
Once the grout has fully dried, apply a grout sealer to protect it from stains and moisture. Use a small brush or applicator to apply the sealer to the grout lines, making sure to cover all areas thoroughly. Allow the sealer to dry according to the manufacturer’s instructions before using the backsplash.
In conclusion, installing a backsplash in your kitchen is a rewarding project that can add both style and functionality to your space. With the right materials, tools, and a bit of patience, you can create a beautiful backsplash that will enhance the look of your kitchen for years to come. Follow these steps and enjoy your newly installed backsplash!

